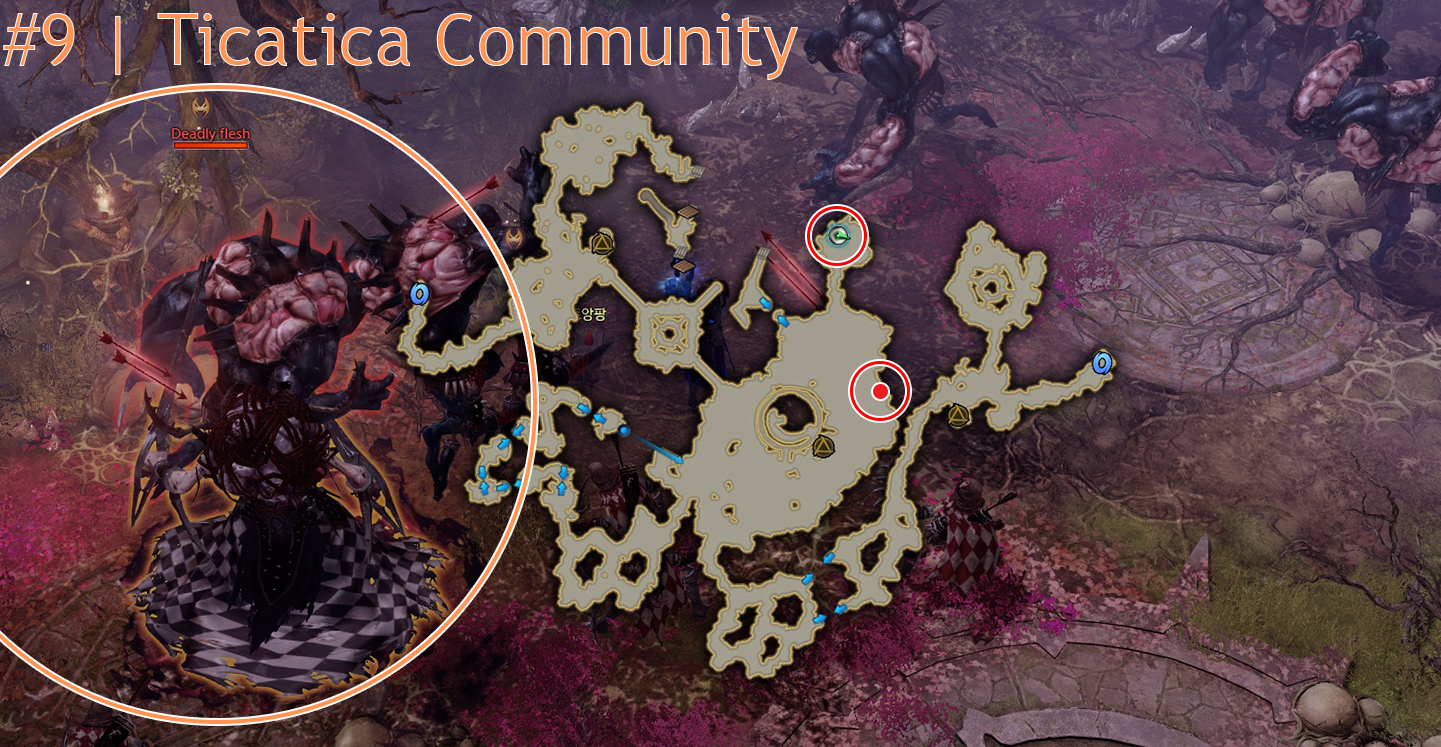
This guide focuses on part 2 of this dungeon, focusing on the 2 Phases of Abrelshuld.
Abrelshuld Phase 1 Mechanic
Abrelshuld does this mechanic around 15 health bars and around 8 health bars.
After around 20 seconds, a target will appear around 1 person. After 4 seconds of the target appearing a meteor will fall down on the player's location.
Because of the rolling shit that occurs when the boss does this mechanic, it's easy to get knocked all the way to the end, failing the mechanic.
To ensure that you get the meteor off, make sure to use super armor skills, including your ult to avoid getting knocked away.
Abrelshuld Phase 2 Mechanic
Impair mechanic happens at 34 health bars and 26 health bars.
Something PUGs Will Fail (Including Me, I Suck)
This mechanic happens at 16 health bars.
One person receives a 10 second debuff. 3 players receive a buff with a light in front of them.
All 3 players must line up the shot with the debuffed person. Easiest way is to have the debuffed guy stand still. The buffed players should reset by running a short distance away, then click towards the direction of the debuffed player, bit by bit. Don't click on the player themselves.
After the 10 seconds are over, the buffed players fire a shot and no one is rooted. This allows you to dodge the incoming meteor.
To cheese, have a bard ult just before you get rooted. Alternatively, the players can run to the opposite side of the map and let the debuffed player die.
A similar mechanic happens at 8 health bars. This mechanic is much harder to line up for newer players.
Instead of the light being directly in front of the player, the light appears in a random direction to the 3 players.
The random directions are 12'o clock, 3'o clock, 6, and 9. Each player has a different direction.
Most players just choose to cheese this part. They let the one guy die to the meteor, while the other 3 run to the other side of the map like in the below video. I just didn't realize until after the run was over.
This focuses on the first boss in this dungeon, which I'm just going to call Queen.
Queen Mechanic
At 8 health bars and 5 health bars, the queen will TP to the middle. Mirrors will spawn and a wave will spawn.
To survive the wave, you must choose the correct mirror. A colored mirror will connect to the same colored mirror. For example, a gold colored mirror will connect to a gold colored mirror.
The only trap mirror is the purple colored one. A purple mirror will lead to the boss. This is shown in the video.
Queen Patterns
Pizza
A cone will appear outwards with a safe area in the back of the boss.
Two rotating orbs will rotate clockwise or counterclockwise at the same time.
The safe area will go with the rotation of the rotating orbs.
In the below video, you see that both orbs rotate clockwise.
Dash Dash Dash Double Cone
Backstep Double Cone
Low Health Mechanic | Wave
3 Forward Orbs, Then Back
Low Health Mechanic | Red Orbs
A player receives a debuff on him for 5 seconds. In this video, it appears on the blaster.
After the debuff wears off, 8 orbs appear on the player and spread outwards.
This guide will focus on the mechanics of each boss first, since most readers only watch mechanics anyway.
The patterns and telegraphs of each boss will come after.
Bishop and Rook Mechanic
Both the bishop and the rook should be killed at nearly the same time. Once one of them dies, the other will enrage.
At around 8 health bars or so, a target will appear on a party member.
The rook will move to one side. You must move near the bishop on the opposite side.
The rook will fire a projectile and this projectile must hit the bishop or the party will wipe.
At around 5 health bars, the mechanic happens again but differs slightly.
8 rook columns spawn that you must break to clear the way for the projectile.
Monghwan Mechanic
Eat
This mechanic happens at 15 health bars and 5 health bars.
Monghwan will TP to the middle. Players should go to 4 positions, north, east, south, west.
4 swords will spawn directly from Monghwan in the center. Each will follow a player.
Only 1 player should take it at a time. After the 1st player takes the sword, everyone will gain a sword of illusion debuff. This wears off after 1 second. The 2nd player ONLY eats the 2nd sword AFTER THE DEBUFF WEARS OFF. If you eat the sword while you still have the debuff, you die.
At the same time, you must also impair the boss in the middle. If you're not fast enough, party wipes.
Run clockwise or counterclockwise, it doesn't matter, just coordinate which direction with your group.
During phase 3, there is a purple fog that spawns in the middle. If you stand outside of the purple fog for more than 10 seconds, you will die.
Statues will also spawn near the edges of the map. They deal chip damage and can be annoying. Unless you are confident in your dodging abilities or your gear is strong enough, consider killing them.
Freeze mechanic that is similar to Phase 1 freeze. This one though is hit based, not damaged based, so use fire bombs or multi hit skills.
Make sure to run away after you break everyone out as it will do an AoE.
When the boss gets to low health, the boss will TP to the middle and do an impairment mechanic.
It will always be in the same position in the middle no matter what.
In addition, mirror images of dragons will first spawn at the top left and bottom right locations.
After they spin and finish their attack rotation, they disappear and 2 more will spawn at the bottom left and top right locations.
So the safe spots during this impairment mechanic is at first, the bottom left, then move up a little bit to avoid the bottom left mirror image.
Failing to impair the boss during this stage results in raid wipe.
Patterns
For the most part, the boss inherits most of its Phase 1 attacks. Blue Phase variants of Phase 1 attacks will be used from the start of the fight, rather than the normal attacks.Because of this, I will not be duplicating patterns on this Phase 3 guide. Just refer to the Phase 1 guide.
Bombardment
2 or 3 times during the raid, the boss will do an aerial bombardment.
The boss flies by and bombards players 9x. Then it chooses a target and lands at the players location. The boss does damage at the landing location.
Fog
Slams with paw. Purple fog appears around player. Behaves the same way as during Phase 1.
In addition, 3 small rain AoE fall down as well.
Geyser
Roars, flaps its wings, then geysers appear and go diagonally outwards.
Ice
Stomps down, icicle AoE goes forward 4 rows from the boss.